When we first moved to our land, there weren’t that many birds. There were a family of magpies that still bother the chooks to this day, and cockatoos that screech down at sundown into the distant pines, and whistling kites darting down to thieve mice from the golden grasses we let grow wild in the bottom acreage. There were moorhens too, and grey necked herons, down near the lake. Actually, I’m making a liar of myself – there does sound like there were birds here after all! Yet not as many as we have now . As we’ve planted so many natives, and there’s more cover for them with the growing gum trees, there seem to be more birds than ever – willie wagtails darting on the rocks and getting uselessly angry if anyone invades their territory, kookaburras perched on the poles by the vegie patch, green grass parrots eating the seeds we let grow on some grasses just for them, red flashes of rosellas, honey eaters swinging from the kangaroos paws, tiny blue fairy wrens darting amongst the leaves just outside the bathroom window. The more we plant, the more they come.
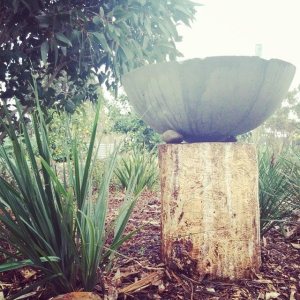
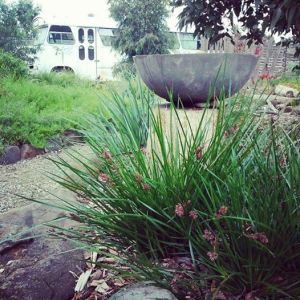
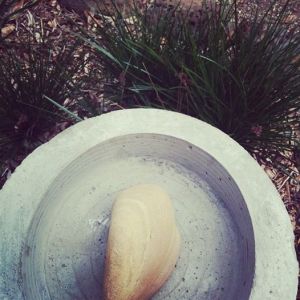
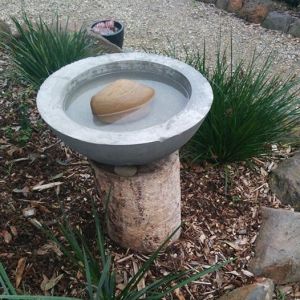
So of course, I wanted a bird bath. I’d been looking for years, but nothing piqued my interest – they were all very much same same, too expensive, or too ornate. Then I stumbled across making your own plans for concrete pots. Thus, we ended up with this, which I”m ridiculously excited about. It’s exactly what I wanted – plain, simple, and authentic. Because it’s authenticity that is the reason for all of this, I guess (more on this on another post – stay tuned) – rather than buying something that is mass produced and has no soul.
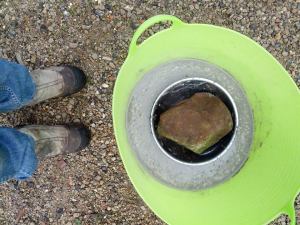
It was beautifully easy to do. We used an old pond filter we’d cut in half. You oil the insides with vegie oil or even motor oil – anything that stops the concrete sticking. Then, you mix quickmix concrete and put enough in the bottom to make up the base – about four inches. Then, you press in one of those big plastic buckets you get from discount hardware stores, oiled on the outside, pressing it in about an inch and popping a big rock in there to keep it steady. Add more concrete around the sides. Then, you get a rubber mallet and tap tap tap tap all around the outsides for about five minutes. You’ll see air bubbles float up to the surface. It’s important to be patient after that – just let it be for about a week so it properly dries out. When you’re ready, carefully lift the centre bucket out and then tip on its side to get it out. Brush the top with a wire brush to clean up the rim. Voila! Your own amazing, soulful birdbath.
My apologies, I didn’t take photos of the making of this one, but you can see the basics below in a small prototype we’d made as a test – the green bucket actually became the centre of the birdbath above.
Have fun – and let me know about your results! I’d love to see them!!
